MEASURING PRINCIPLES
Enhanced 3D optical metrology techniques
Designed as high-performance optical profilers from the outset, some of our systems outperforms all existing optical profilers, combining 3D optical metrology techniques all together.

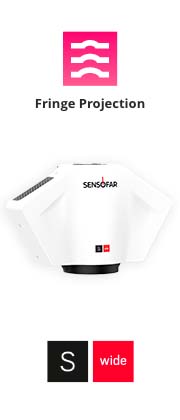
Fringe projection is ideal for large area measurements, providing high vertical accuracy and repeatability with low system noise.
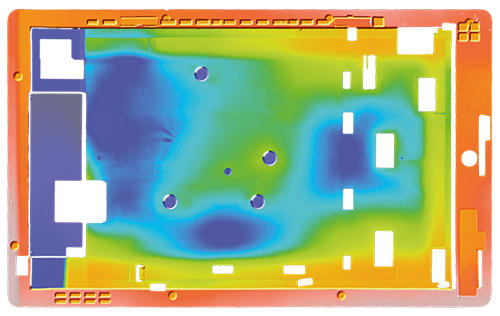

Fringe projection is ideal for large area measurements, providing high vertical
accuracy and repeatability with low
system noise.
Ai Focus Variation has been developed and improved for measuring the shape of large rough surfaces. The best choice for high slope surfaces.
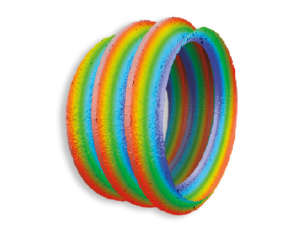
Ai Focus Variation has been developed
and improved for measuring the shape
of large rough surfaces. The best choice
for high slope surfaces.

Confocal profilers measure the surface height of smooth to very rough surfaces, making them ideal for critical dimension measurements.
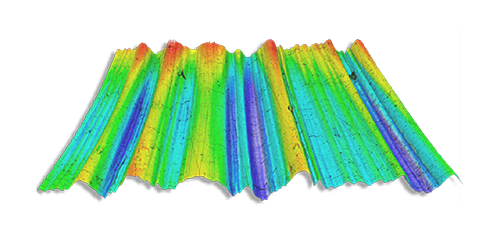
Confocal profilers measure the surface
height of smooth to very rough
surfaces, making them ideal for critical
dimension measurements.
Interferometric techniques can be used for particular applications allowing to measure from very smooth and continuous to moderately rough surfaces.
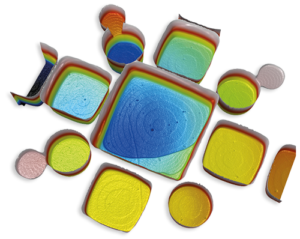
Interferometric techniques can be used
for particular applications
allowing to measure from very smooth
and continuous to moderately
rough surfaces.

For transparent layers samples, spectroscopic reflectometry is the key to perform thickness measurements in a quick, accurate and non-destructive way.
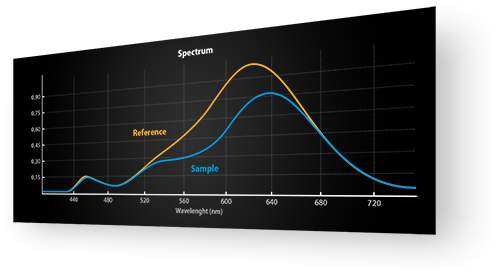
For transparent layers samples,
spectroscopic reflectometry is the key
to perform thickness measurements
in a quick, accurate and non-destructive way.
PORTFOLIO
Technology combinations
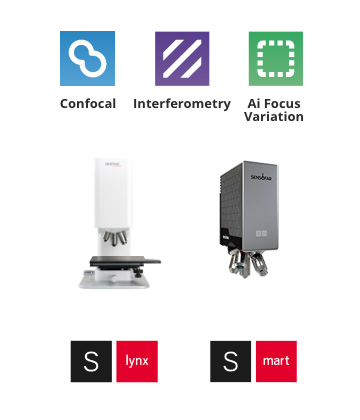
Our systems operate with different optical measurement techniques, combined in some of them. Joining these technological benefits, the incorporation of latest technology and the software which operates them, results in a high-level equipment of maximum competitiveness in the market.


Why 4-in-1 Technologies?
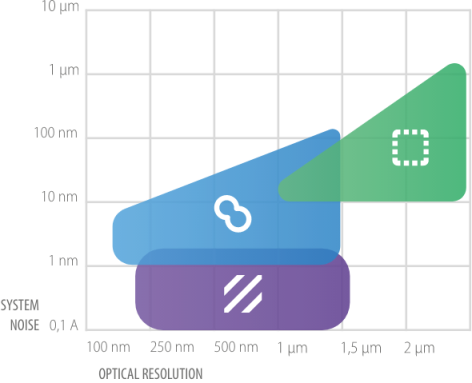
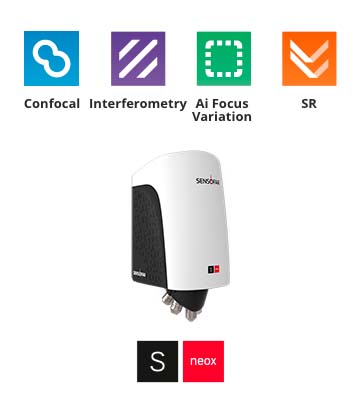
With Sensofar’s 4-in-1 approach – as found in the S neox system – a single click in the software switches the system to the best technique for the task at hand. There are 4 measurement techniques found in the S neox sensor head – Ai Focus Variation, Confocal, Interferometry & Spectroscopic Reflectometry– thus each contribute critically to the versatility of the system, help minimize undesirable compromises in the data acquisition, and together provide Sensofar’s class-leading surface measurement performance.
PATENTED TECHNOLOGY
Microdisplay is the key!
Sensofar’s systems utilize a patented microdisplay scanning technology. The microdisplay is based on ferroelectric liquid crystal on silicon (FLCoS) technology, creating a rapidly switching device with no moving parts that makes the scanning of Confocal images fast, reliable and accurate. This, in combination with high-resolution scanning stages and swappable objectives, provides a flexible optical system.
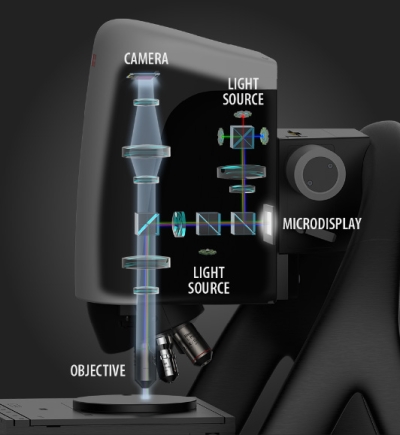
The most popular optical measurement techniques (Confocal, Interferometry, Ai Focus Variation and Spectroscopic Reflectometry), found in most of the systems in the market, enable users to obtain the measurements they need in their surface metrology works.


